Ways to Use Your Giant Keyboard

Any teacher who is interested in having classroom décor with a computer/technology theme will be well served with a giant keyboard display. You can have an adorable and stylish classroom while still maintaining a highly academic environment! Let’s see what it looks like, as well as a few ways you can use a giant keyboard in your classroom.
What is a Giant Keyboard?
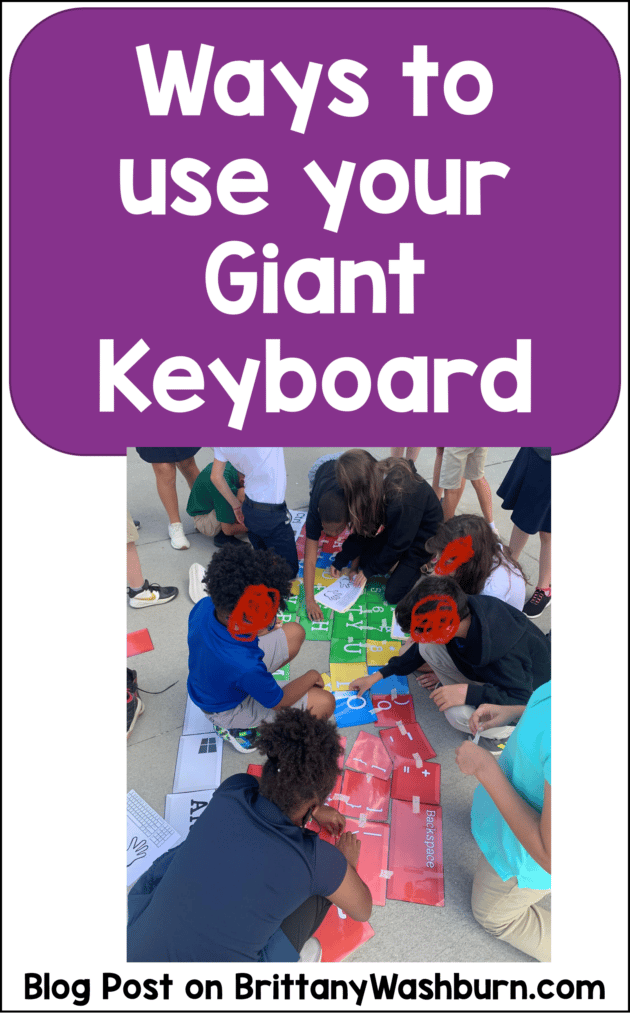
A giant keyboard is a bulletin board sized printed keyboard to use with your students. Teachers can put it up on display on their classroom walls or take it out for large floor games.


Ideas for Setting Up the Giant Keyboard
1. 3D Effect with Take-Out Containers
- Choosing the Containers: Use sturdy take-out containers that can support the weight of the keys. Black or white containers work best for a clean, professional look.
- Attaching the Keys: Secure each key to the top of the container using double-sided tape or glue. Ensure they are centered and firmly attached.
- Arranging the Containers: Place the containers in the correct keyboard layout on the floor or a large table. Use painter’s tape to mark the positions to keep them in place.
2. Wall and Floor Setup
- Wall Setup: Use removable adhesive strips to attach the keys to the wall. Arrange them at eye level for easy viewing and interaction. This setup works well for display purposes and interactive activities like matching games.
- Floor Setup: Lay out the keys on the floor using painter’s tape to secure them. This method is ideal for interactive activities like “Keyboard Twister” or stepping games, where students can physically move around the keys.
3. Custom Colors and Laminating
- Customizing Colors: Print the keys on colored paper to match your classroom theme or to highlight specific keys (e.g., vowels in one color, consonants in another). This visual distinction helps with learning.
- Laminating: Laminate each key to increase durability, especially if the keys will be used frequently or in interactive games. Use a home laminator or take them to a print shop for a professional finish.
- Organization and Storage: After use, store the laminated keys in a large binder or box. This makes it easy to organize and pull them out for future lessons or activities.
By following these tips, teachers can create an engaging and interactive learning environment with the giant keyboard.
Ways to Use Your Giant Keyboard
Games to Play on the Floor
Giant keyboard games are unplugged, and a great way to get kids up and moving! Use a bit of painters tape to attach the keys to the floor and get to work exercising both their brains and their muscles.
Practice skills such as:
- keyboard fluency
- usernames
- letter recognition
- sight or spelling words
- coding and following directions
Letter Match Up
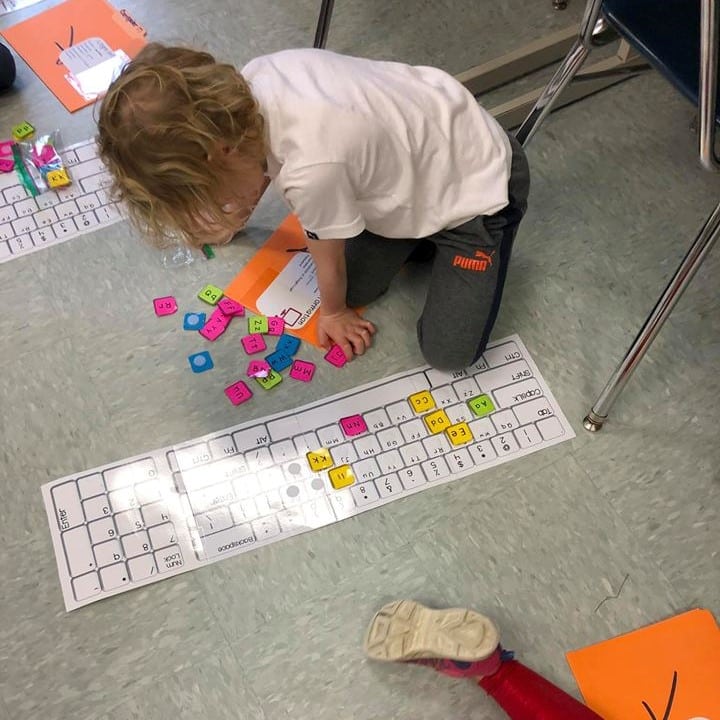
Print both the upper and lower case set of keys for your youngest students who are still learning uppercase vs lowercase letters. Put together one set yourself, then have your students match up the other case on top. This game can be played with your wall display just as easily!
Beginning Sound Match
Another good game for younger students is to have them race to run and jump onto a key that has the beginning sound of a word you say. Alternatively, just have a small (or big!) deck of cards with pictures of items on them for the students to flip through. Play this game with your wall display too!
Keyboard Recreation
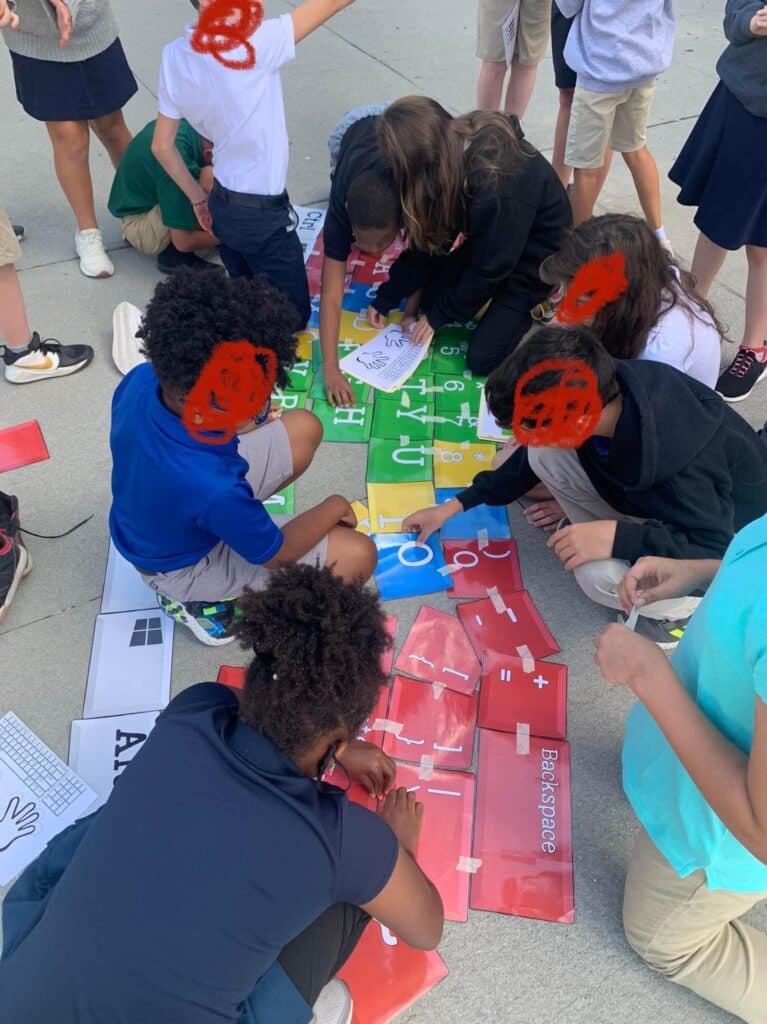
Set up teams, then give each a stack of keys and let them get to work recreating an accurate keyboard layout on the floor. You can even do a “Build your own keyboard” race outside! Only attempt this on a day with no wind though… and bring lots of tape.
Keyboard Twister
Challenge your kids to put their hands and feet on different keys, until they are too twisted up in knots to go on!
Code Robots
Have students guide robots across the keyboard to spell words, type their username, or write secret messages.
Where Do I Get One?
My Giant Keyboard for the Computer Lab is ready-made for your classroom! It meets the needs of grades K-8. The colors are timeless and bright so you can use them with any grade level and they will be perfectly appropriate. My favorite part about this set is that it is customizable with both colors and keyboard special keys.
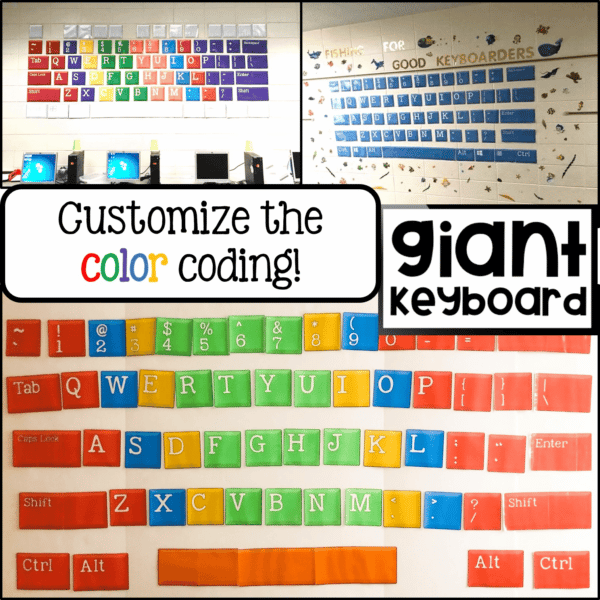
This set includes:
• 6 colors of each of the keys that you can print and display any way you choose. Customize the colors however you need to for your students!
• One page display in both color and black and white for you to print poster size if you don’t want to do each color individually.
• Home row hand placement printable pages.
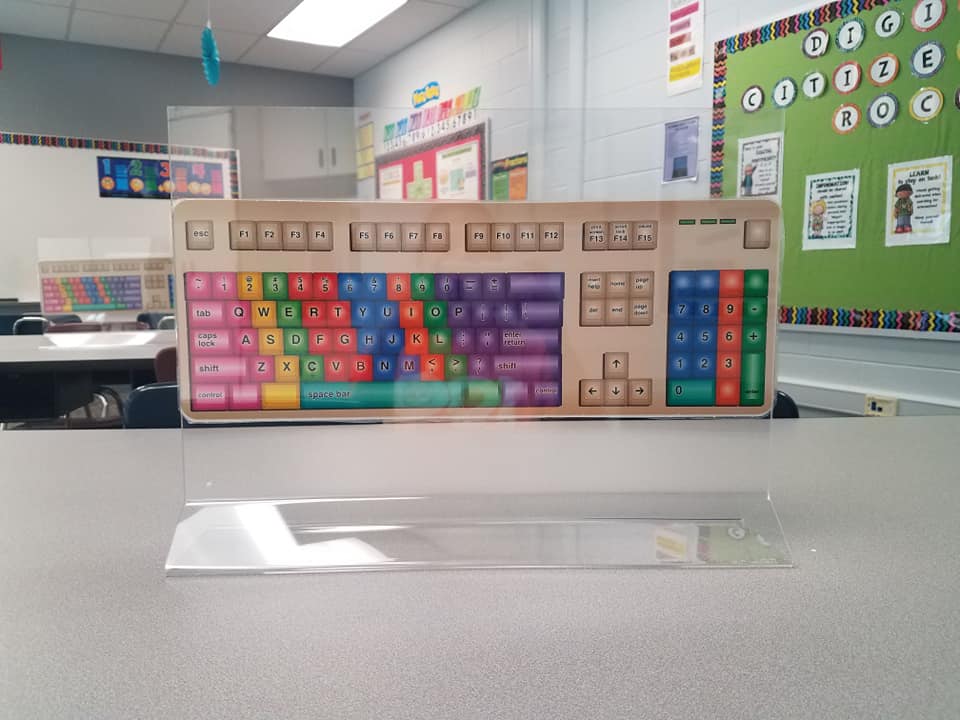
Don’t want to put one together? These Computer Lab Posters come in a variety of sizes, and include hand placement color coding in the display.
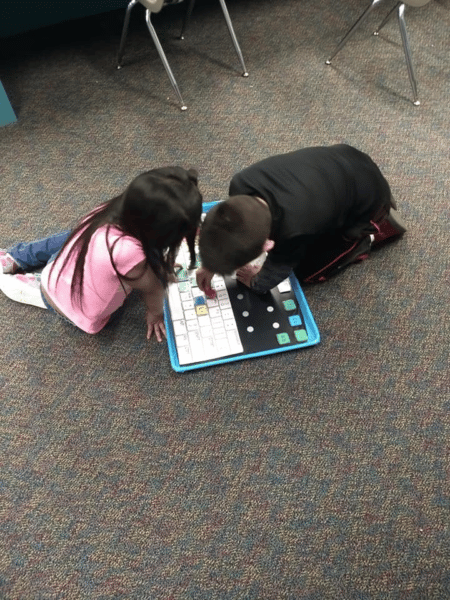
Alphabet Keyboard Practice is an oversized, but not giant, resource that may be just what you need to fill the gap. Goldilocks tried a little of everything, why not you?

Tips for Teachers
Laminate it! Since no individual key is that large, this resource would be easy to laminate yourself. A small 9″ wide thermal laminator will do the trick.
Consider making two copies of giant keyboard. This way you can have one on display on your walls as well as one to play floor games with.

While giant keyboards are fantastic, remember that most activities using them do not work on the fine motor skills. Your students need those to become proficient in keyboarding too. Here are some tech activities that develop those fine motor skills:
- The Build Your Own Computer Activity uses tons of cutting, coloring, and manipulation of small pieces of paper to create a lift-the-flaps laptop.
- Cut and paste activities in Technology Vocabulary Worksheets which will hone fine motor skills.
- Sorting Matrix Coding includes 12 digital slides with moveable fine motor building materials including building blocks, play dough, pattern blocks, and counters – without the mess!
Interested in MORE Keyboarding Ideas? Check out these other blog posts in the Typing Category:
Text Formatting Freebie
Text formatting is a great way to help students master word processing. Featuring two technology…
The Importance of Keyboarding in Kindergarten
As the world becomes increasingly digital, it’s essential to equip our youngest learners with the…
Why Do Elementary Students Need to Learn Computer Keyboarding?
Keyboarding skills are essential for success in both academic and professional settings. Elementary students may…
How to Manage a Typing Competition in the Computer Lab
In order to assist students in developing their keyboarding skills, elementary typing competitions are gaining…
How to Integrate Keyboarding Lessons into your Curriculum
As educators, it is important to recognize the importance of keyboarding skills and integrate them…
The Secret to Raising Tech-Savvy Students? Start with Keyboarding!
Computer Keyboarding has become a fundamental skill for students to have. It is an essential…
Or Pin this post to come back to later:
