Inside of a Computer Lesson and Activity

At the end of the school year when I ask my students what their favorite memory was of our time together, they always say it’s the day we took apart old computers. This is how we did it and how I held them accountable for their learning.
Show this if you have a projector
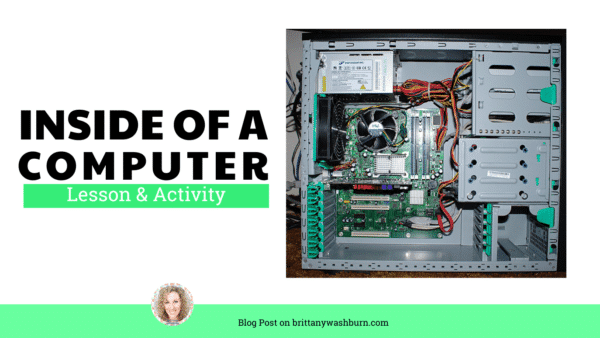
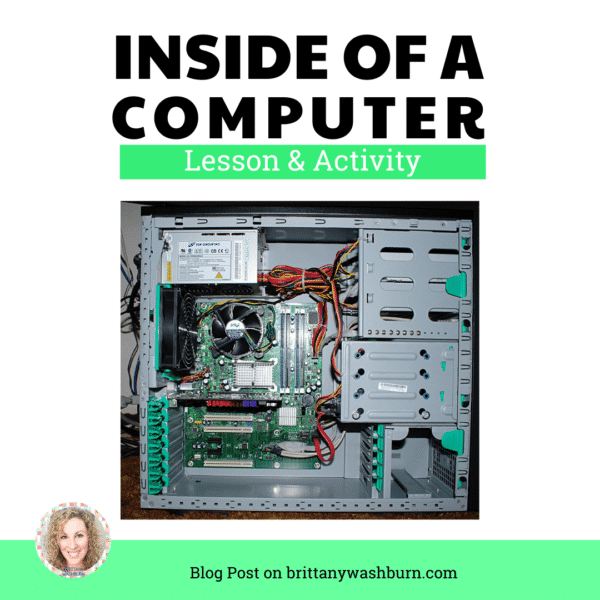
I put this up on the screen at the beginning of class and have students guess what they are looking at. One or two students always know because they have done something like this before. Students freak out (in the best way possible) when I tell them they get to take apart a computer today!
The Lesson
I created a click and learn activity of the inside of a computer with labels explaining 11 of the parts. I made a QR code for students to get to the site from the iPad. Each group (about 4 students) got a QR code and a worksheet.

*I have both the QR Code and Worksheet in my Free Resource Library, which you can access by clicking on the image below and creating an account (Register). The downloads are in the TRY section near the bottom of the page.
The activity has students methodically work through all 11 of the labeled parts of the computer that are on the web page. They learn what they are, record that information, and check off whether or not our computers have that part. I fully encouraged them to remove parts so that they could check them out closer and see under them. I did ask students to take a picture before they started pulling it apart (using their iPad) so that they could return everything to its original place.
Then, there are 2 questions to answer and then a design challenge to work on as a group. The design challenge asks them to come up with a new icon for the save button since we don’t use floppy disks anymore. At the very end of class we shared the new save icon prototypes under my document camera for the whole class to see.
As you can see, this lesson and activity is super engaging for students, and easy peasy for the teacher to facilitate. Yes, it was a noisy class! I wish an administrator had stopped in during this lesson because they would have been so impressed by the problem solving and authentic learning happening. Maybe next time.
Don’t forget to grab the worksheet and QR code from my Free Resource Library and then share this post with your techie friends. Thanks for reading!

Introduction to Google Docs: Editing, Sharing, and Collaborating with Ease
Google Docs has revolutionized the way we create, edit, share, and collaborate on documents. This…
How to Convert PowerPoint Presentations to Google Slides (and Why You Should)
Teachers often create resources in PowerPoint, but as more schools adopt Google Workspace, it’s becoming…
Discover the Secret to Engaging Young Minds with Innovative Tech Tools
Engaging young minds with innovative technology tools has become an essential strategy for promoting student…
Free Video Resources to Teach Digital Citizenship
As technology becomes an integral part of students’ lives, teaching digital citizenship is more important…
From Coding to Podcasting: Fun Technology Projects for Elementary Students
Explore a range of engaging technology projects tailored for elementary students, highlighting the benefits of…
Teaching Coding and Programming: Best Practices for Elementary School Teachers
Coding and programming are essential skills for anyone interested in technology. Teaching coding nurtures crucial…


