Description of Google Tour Builder
Google Tour Builder is a great tool for storytelling that allows its users to preserve their memories and stories with the help of maps. By using different kinds of multimedia content as well as Google maps, Google tour builder connects people and places together. It is a great educational tool and students’ learning and engagement can be increased by using it. It also allows its users to add photos, videos and other sort of content to Google maps. You can pick any location that you want. Originally, this tool was built for veterans so that they can preserve the memories of their service but later on, it was made available for everyone so that everyone can experience an immersive and a beautiful storytelling experience.
How Google Tour Builder Works
Here is how Google Tour Builder works:
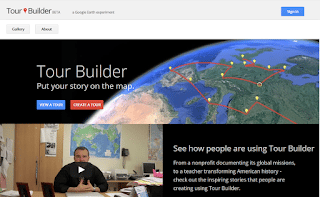
2. Once you press enter, you will see the homepage of Google tour builder. Here you can build your own tour. If you want, you can also check existing tours.
3. The next step is to sign in. You can sign in by using your Google Apps account, or your Gmail account.
4. On the top right corner of the homepage, you will see a “Create new tour” button. Click on this button if you want to create your own tour.
a. Add the name of your organization and tour e.g. visit to D.C.
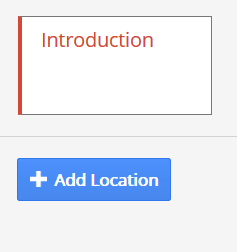
b. An introduction box will appear, write a short introduction about your tour in this box.
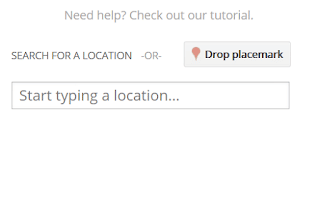
c. Add location and then locate the places that you want to include in your tour e.g. monuments, parks, museums, etc. Click on “add to tour”.
d. Customize the view of your tour and then click on “lock this view” button.
e. To add photos, videos, and YouTube links to your tour, click “add photos and videos”.
f. Click “Done editing” once you are done.
5. To view a tour, click on the blue colored “View a tour” button.
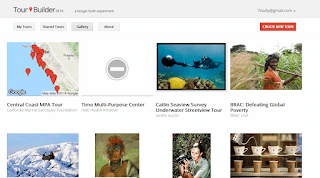
6. If you want to explore other tours that are shared publicly by other users, then click on the “Gallery” button. It will also give you an idea of how to make a great tour for your class by using Google tour builder.
7. If you want to explore the tours that other users have shared with you, click on “Shared tours” button.
8. If you want to see the tours that are created by you, click on “My tours” button.
Note: You will have to install Google earth plugin first before you can use Google tour builder.
Using Google Tour Builder with elementary students
Google tour builder is a great tool to help your students explore new places around the globe. There are many great ideas about how you can use it in your classroom. Here are some examples:
Explore Europe
Ask your students to research on 2-3 European explorers and then create a tour including 5-8 stops. You can also ask them to include a photo along with an interesting fact about every stop.
Visit a state
Build a tour of the state that no one in your class has visited. This is an interesting activity for kids to explore their own country.
Dream Trip
Ask your students to create a bucket list about where they want to travel and then build a tour of those places.
You might also like How to use Buncee with Elementary Students.
Love tech tutorials and want more of them? Subscribe to the Technology Toolbox for Teachers. A one-stop library of technology tools tutorials for teachers. Click the image for more information and to see sample tutorials.


