Tinkercad

Tinkercad is a simple online tool that is used to create different types of 3d designs. It is also used for 3d printing. It is used to create toys, Minecraft models, prototypes, jewelry, home décor and so on. It is one of the most popular tools that is used in classrooms to create simple 3d designs from scratch. It also allows its users to modify existing 3d designs without the need to download any software. It is an easy-t-use tool that comes with a lot of built-in tutorials to help you get started. Basic models like houses, furniture, snowmen, etc. can be created within minutes.

Here is how Tinkercad works:
- Go to the Tinkercad’s website and sign up for a free Tinkercad account.
- Click on “start new project”. This will lead you to an empty work plane.
- From this step, you can start creating your project. Tinkercad will have pre-defined shapes and you will need to follow a Lego approach. Lego approach means you will need to work with the existing geometric structures and shapes.
4. On the right-hand side, you will see a “geometric” button. Click on it.
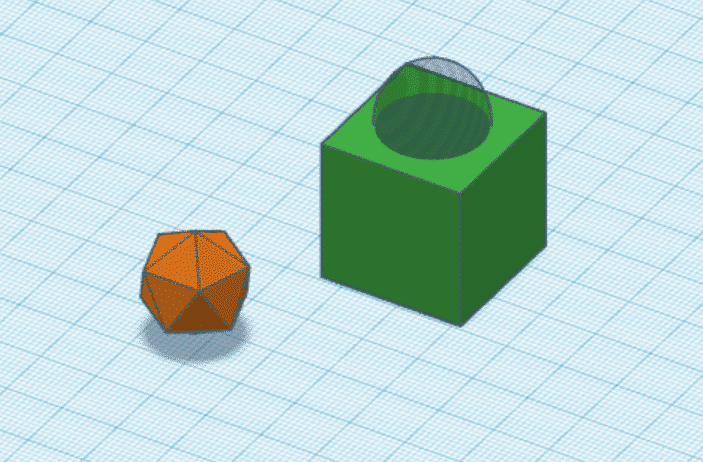
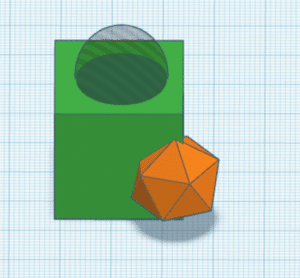
5. Using drag and drop features, create any geometric shape that you want. This may include pyramids, spheres, etc.
6. You will see different dots and arrows around your design. Zoom in by using your mouse wheel so that you can get a better view of your design.

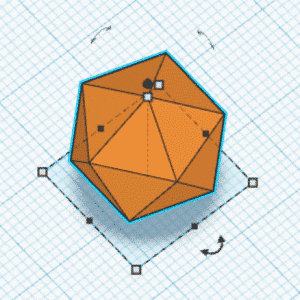
7. You can also change the shape and size of your design by using the drag feature.
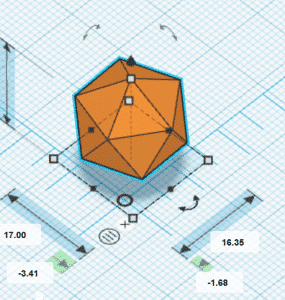
8. You can use different tools to adjust your design, for example, you can use a ruler to check the dimensions of your design.
9. In a similar way, group together different shapes to create any model or design that you want.

10. There will be a Tinkercad logo on the top left corner of your screen. Once you are done with the designing, click on this logo to 3d print your design or to download a 3d printable file.

Alignment with the iTECH Model
1. Inspire: Begin by showcasing various impressive and creative 3D models made in Tinkercad. Discuss the potential of 3D modeling and printing in different fields, from engineering to art, to inspire students about the possibilities.
2. Try: Guide students through the process of setting up their Tinkercad accounts and starting a new project. Allow them to experiment with Tinkercad’s basic features, like adding and manipulating geometric shapes on the work plane.
3. Expand: Introduce more complex tasks, such as combining multiple shapes to create a specific model. Teach students about dimensions, scaling, and aligning objects accurately.
4. Create: Assign a project, such as building a Tinkercad house, where students apply their skills to design a 3D model from scratch. Encourage creativity and problem-solving as they work on their projects.
5. Huddle: Organize a class session for students to present their Tinkercad models. Facilitate peer feedback and discussions on the design process and the challenges encountered.

Teachers around the world are using Tinkercad to help their students in creating amazing projects. There are many types of projects that you can do by using Tinkercad. If you want to use it with your elementary students, you can start with building a Tinkercad house.
Building a Tinkercad house
Building a Tinkercad house is a fun project. Here is how you can do it:
- The first step is to create the outer part of the Tinkercad house. To do this, place a box on your work plane. It should be 10 mm tall.
- The next step is to create the walls. To do this, click on the box and select the duplicate button. Shrink this second box by using the black dots.
- Once done, select the smaller box and make it a hole by using the shape dialogue box of graphics.
- Make a roof by using the round shape.
- Make a doorway by using any shape that you want.
- Align the shapes so that the walls and roof can be grouped together.
- Congratulations! You have successfully built your house!
Designing Custom Objects:
Older students can design more complex objects like furniture, vehicles, or even their inventions, applying the advanced features of Tinkercad.
Tips for Effective Implementation
1. Utilize Built-in Tutorials: Start with Tinkercad’s tutorials to help students become familiar with the platform.
2. Incremental Learning: Begin with simple shapes and gradually introduce more complex features and tools.
3. Focus on Design Principles: Teach basic design principles like symmetry, balance, and proportion as part of the modeling process.
Role of Educators
Educators can guide students through the 3D design process, ensuring they understand both the technical and creative aspects of Tinkercad. While overseeing projects, focus on fostering spatial awareness, precision, and creativity.
Tinkercad offers an engaging and educational platform for students to learn about 3D modeling and printing. By integrating this tool with the iTECH Model, educators can effectively introduce students to the fundamentals of 3D design. This encourages creativity, precision, and a deep understanding of geometric concepts. Tinkercad projects can be a fun and imaginative addition to the STEM curriculum, opening up new possibilities for hands-on learning and creativity in the classroom.
Click here for a presentation you can use with your staff. It is completely editable so feel free to make any changes you need.